Wednesday, November 20, 2013

Spider web nail stencils

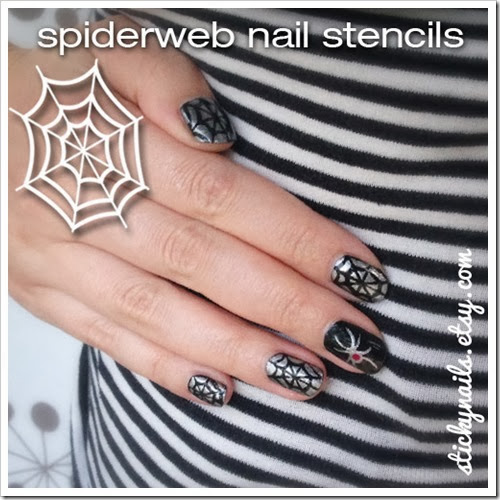
If you’re an every-day-is-Halloween kind of person (like me!) you’ll have a lot of reasons to wear spider webs on your nails, even when it’s not October.

sticky-nails-spiderweb-nail-stencil-nail-art-480x480

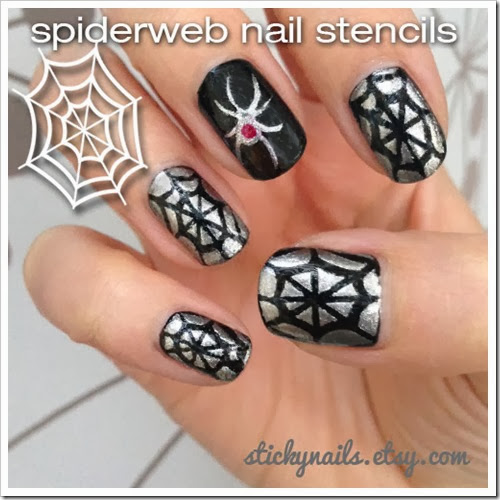
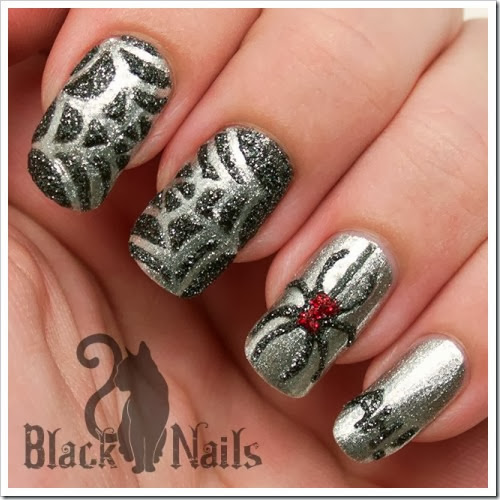
Arden from Black Cat Nails did this amazing black and silver spider web nail art, with spider webs at the edges of her nails, rather than centered, and a cute little “AH!” in textured polish. I copycatted her striking colors for my own spooky manicure.


sticky-nails-spiderweb-stencils-02

I lovelove that Arden put a red mark on the spider’s back to make it a Black Widow, so for my own nails, I used a dotting tool to make the tell-tale red mark. My initial idea was to use a red heart sequin, but when I polished over it, the clear coat smeared all the red off. Because I put a coat of Seche Vite on between each layer, I was able to clean up the smear more easily. Seche Vite is Sticky Nails’ BFF.


sticky-nails-spiderweb-stencils-01

Colors used: Sonia Kashuk – Starry Night, OPI – Haven’t the Foggiest, and ORLY – Star Spangled


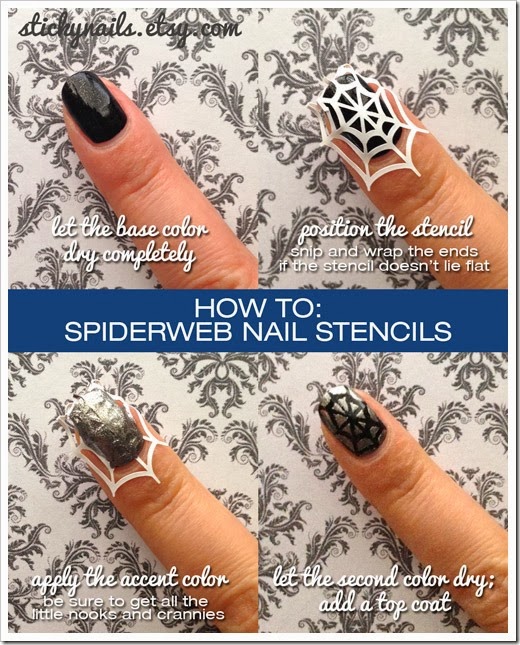
The spider web stencils are a little bit tricky because you have to remove all those little inset pieces before you can use them. I recommend that you get all your stencils ready before you start spookifying your nails so that you don’t smudge or bump a precious web. Additionally, I always spend a little extra time with these stencils to make sure that every little bit of the stencil is pressed firm against my nail. Sometimes I use cuticle nippers to cut the stencil and wrap it around the end of my nail if it’s not sticking right. I have a lot of curvature in my nails to that happens a lot. See what I mean here:

spiderweb-nails-how-to


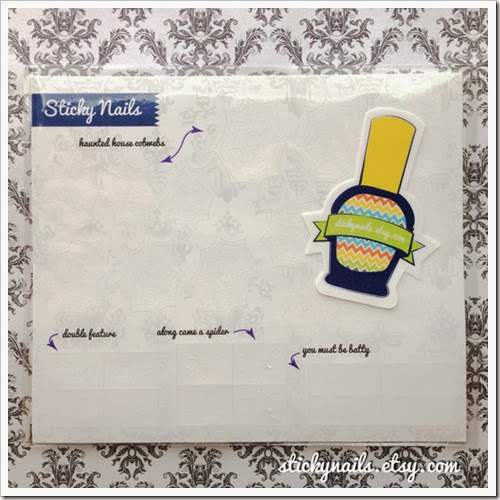
Two types of bat stencils are included on the stencil sheet. Here’s an example of the “double feature” bats:
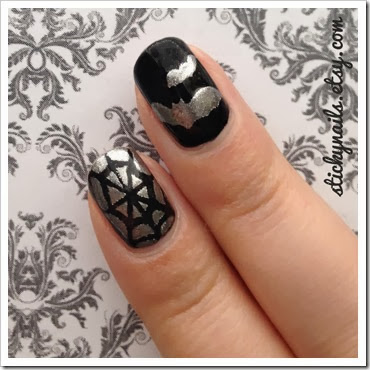
stickynails-bat-nail-stencil
The polish is so reflective that it’s reflecting my skin tone! I love Haven’t the Foggiest.


Polish off your bewitching manicure with Sticky Nails spider web nail stencils currently for sale on Etsy.

stickynails-spiderwebs-sheet


sticky-nails-logo-large

Saturday, November 16, 2013

Nail polish rings

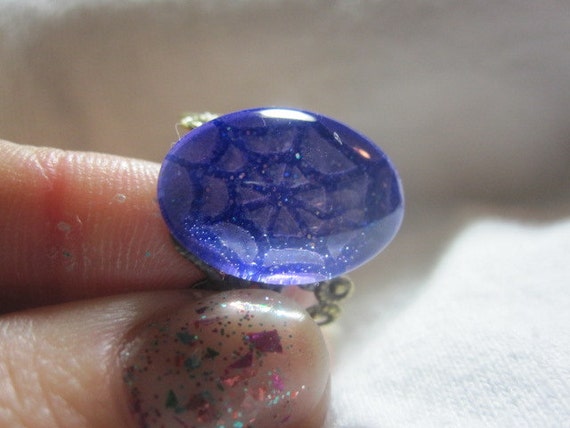
If you love nail polish and jewelry, check the Simply Born Crafty store on Etsy! April uses nail polish to make glittery and totally affordable statement rings, and she just added some Sticky Nails stencil rings to her collection.

The Spiderweb ring is my personal favorite, but you can also get a chevron ring, heart ring, or a Thin Blue Line ring which is gorgeous.

Check out all the rings in the Simply Born Crafty store for your favorite polish colors.

Wednesday, November 6, 2013

Explosive Nail Stencils

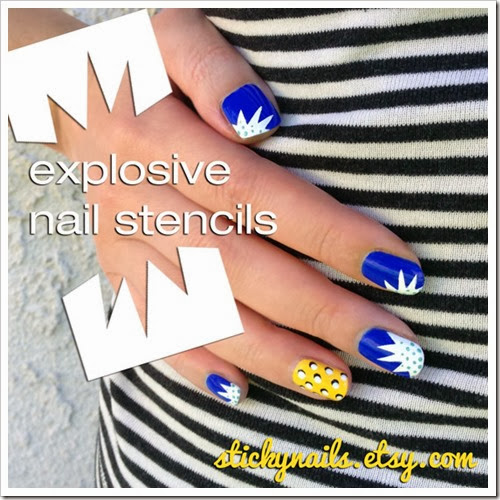
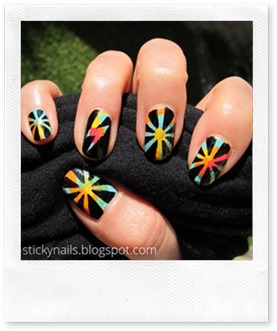
These sassy nails are so much fun to look at – it’s the kind of manicure that strangers comment on because it’s so bright and noticeable. With a few bottles of my favorite polish, Sticky Nails Explosive stencils, and a few dotting tools, I set out to make a mani that was loud and funky.

explosivenails-on-shirt


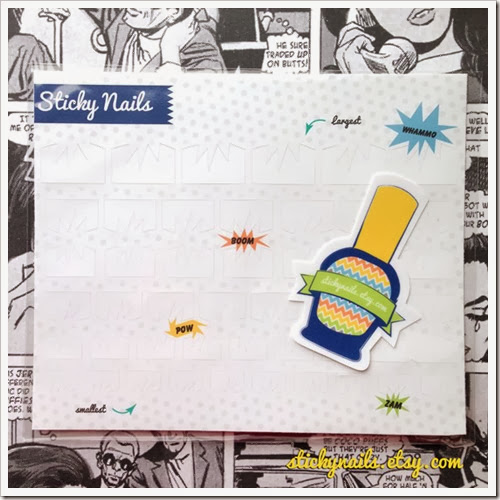
The nail stencils that I used. There are different sizes for each nail, but you can use the tiny ones on big nails, and position them any way you want to create awesome nail art. You can even use two on one nail to create the appearance of a bigger explosion or maybe a speech bubble.


explosive-nails-sheet


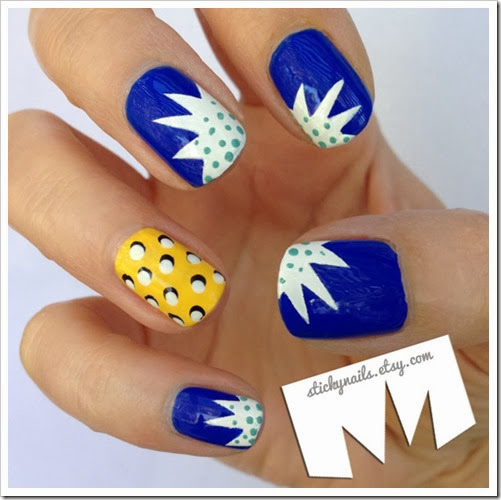
The final results!
explosive-nails-closeup


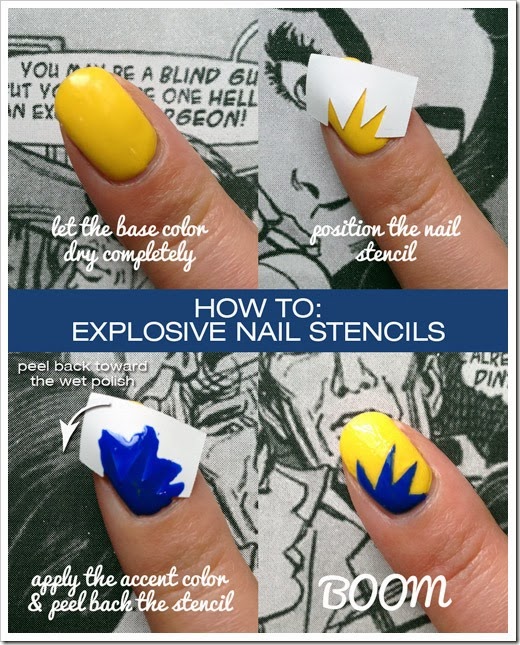
HOW TO:
The most important advice for anyone using Sticky Nails stencils is to let the base color dry completely. A quick-drying top coat like Seche Vite is your best friend. It helps the base color dry more quickly, and it creates a barrier between the base color and your nail art.

Before you apply the stencil to your nail, press it against the back of your hand to remove some of the stickiness. If you follow these first two steps, you’ll ensure an in-tact base color when the stencil is removed.

Press the edges of the stencil tightly against your nail to make sure your lines are even.

Apply a generous amount of polish over the stencil; use the brush to get the polish in all the nooks of the design. Work quickly to smooth out any pools of polish, or apply extra to areas that are too thin.

Wait. This is the tricky part, because it can largely depend on the type of polish that you’re using. You might want to snip a small area of extra Sticky Nails material to do a test with the specific polish you’re using before you set out to create your manicure. If you pull the stencil off too soon, the polish can bleed into the negative areas of your stencil. If you wait too long the polish might peel back with lots of half-dried strings that ruin the clean lines.

Peel the stencil back toward the area that you just polished.

For my manicure, I used a set of dotting tools to gradually change the size of the blue dots on the white “explosions”. For the accent nail I did a bold yellow, with two-tone dots for extra depth.

Be sure to let the nail art dry completely before applying another layer of top coat. If you don’t wait long enough, the top coat will smear your nail art.


sticky-nails-explosive-nails-how-to

Colors used: Sinful Colors – Endless Blue, China Glaze – Happy Go Lucky, Sinful Colors – Snow Me White, Orly – Liquid Vinyl


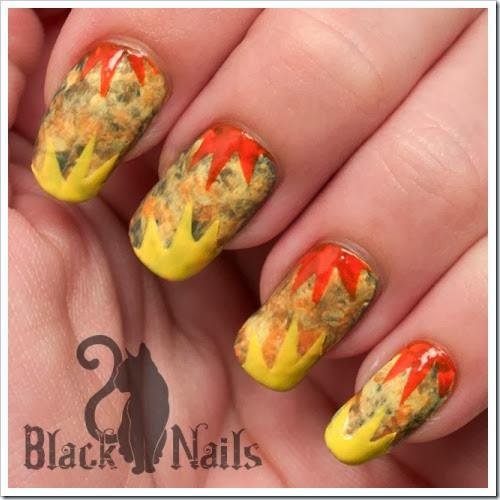
Comic books aren’t the only place for inspiration for using the Explosion stencils. Check out Arden from Black Cat Nails and her Autumn Leaves manicure.


sticky-nails-fall-marble-explosion-leaves-480x480

I love her earthy interpretation of the starburst nail art trend! The background reminds me of crunching dried leaves under my feet.


Check out other nail art stencils from Sticky Nails

sticky-nails-logo-blankbg

Monday, September 30, 2013

Sticky Nails around the ‘tubes

I’ve been so lucky to get awesome polish bloggers to review the nail stencils and make suggestions on how to improve them for the future. Sincerely, everyone I’ve emailed with has been Super Rad and Nice so it’s incredibly rewarding to get to talk to nice people, and see all the creativity they’ve put into using something I really care about.

polishallthenails-chevrons
Photo credit: Polish All The Nails

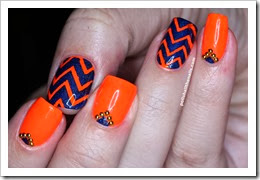
The first blogger I ever approached was Laura from Polish All The Nails, the blogger who dazzles us all with her gorgeous hand-placed glitter manicures. She was kind enough to use the beta version of Sticky Nails Chevron Nail Stencils for her post with eye-popping orange and blue. She even added studs to make the manicure extra special!


NACDO-chevron_stripes_checkers
Photo credit: Nail a College Dropout

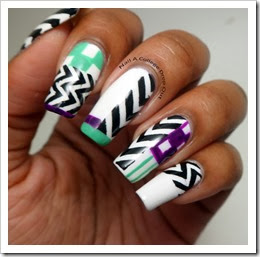
Briana from Nail A College Dropout has a fearless, artsy way about her that I love. For her Sticky Nails review of the Chevron Nail Stencils, she mixed the chevron pattern with checkers, stripes, and great, complimentary colors.


wondrouslypolished-chevronnailart3
Photo credit: Wondrously Polished

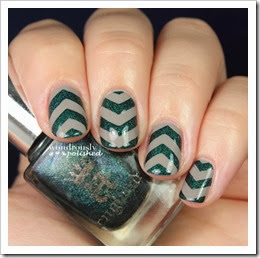
Lindsey from Wondrously Polished used the nail tip pack to make her own chevrons in a sparkly green and beige. Her hand, much like Laura from Polish All The Nails, is so steady. I can’t believe those crisp lines that she got. Her nail art is amazing, and she’s got a sharp eye for colors and patterns.

Over the weekend, Lindsey’s post on Reddit got quite a bit of attention. I answered quite a few questions in the thread there, but if you have any questions about Sticky Nails, don’t hesitate to email me!

And, in case you have any doubts, mere mortals like us can get nice-looking results using the nail stencils. Check out this Redditor who was inspired by Laura from Polish All The Nails.

I absolutely love that four different people had such different and beautiful results using similar products.

Coming soon: more reviews from more awesome bloggers, spiderweb nail stencils from Halloween, and those zombie nails that I’ve been promising for for-ever.

Tuesday, August 27, 2013

Basic tips for Sticky Nails manicures

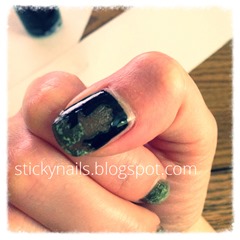
Don’t let this happen to you:

stickynails-zombie-nail-sadness
A sad nail from the upcoming zombie stencil set

Here are my tips for getting the most out of your Sticky Nail nail stencils (or any tape manicure):

CLEAN IT
Swipe your nails with acetone before applying your base coat. If you have any oils on your nails, the polish will pull away from the nail when you remove your nail stencils.

DRY IT (the most important!)
Make sure your polish is REALLY REALLY dry. You should be able to dig your nail into the polish without making a dent.

PROTECT IT (makes nail art easier!)
Use a quick-drying top coat like Seche Vite over your base coat. This works for two reasons: it helps to dry your polish faster, and it stops the base color from smearing when you apply the second color. If you put a coat of clear top coat between your base coat and your stenciled design, you’ll get cleaner lines.

STICK IT
Make sure that the edge of the nail stencil/tape is firmly adhered to your nail. This stops your second polish color from seeping under the edge of the stencil.

UNSTICK IT
I like to press the stencil into the palm of my hand before putting it on my nail. This loosens the (very strong) adhesive a little bit. Don’t worry, the adhesive on the back is still strong enough to stand up your polish.

stickynails-radiant-nails-tape-manicure