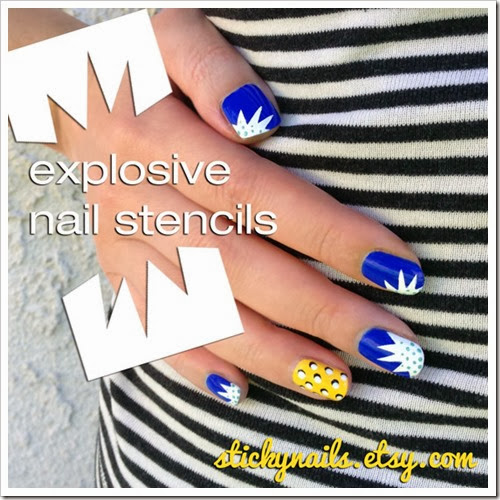
These sassy nails are so much fun to look at – it’s the kind of manicure that strangers comment on because it’s so bright and noticeable. With a few bottles of my favorite polish, Sticky Nails Explosive stencils, and a few dotting tools, I set out to make a mani that was loud and funky.
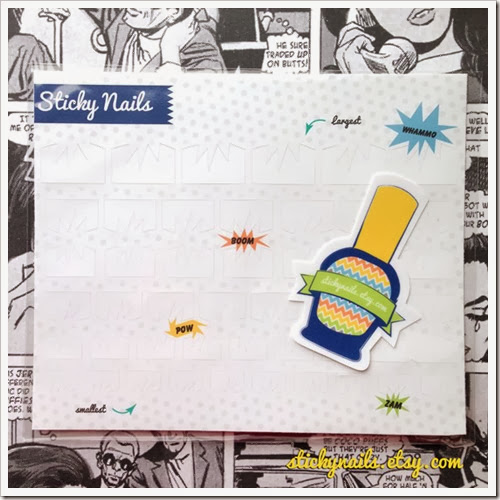
The nail stencils that I used. There are different sizes for each nail, but you can use the tiny ones on big nails, and position them any way you want to create awesome nail art. You can even use two on one nail to create the appearance of a bigger explosion or maybe a speech bubble.
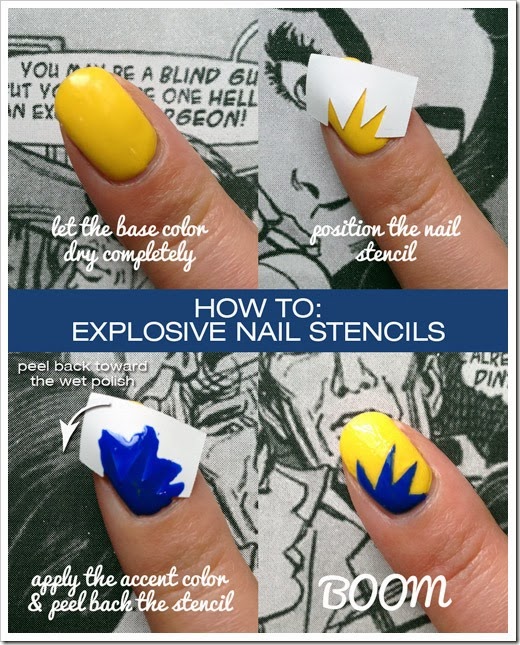
HOW TO:
The most important advice for anyone using Sticky Nails stencils is to let the base color dry completely. A quick-drying top coat like Seche Vite is your best friend. It helps the base color dry more quickly, and it creates a barrier between the base color and your nail art.
Before you apply the stencil to your nail, press it against the back of your hand to remove some of the stickiness. If you follow these first two steps, you’ll ensure an in-tact base color when the stencil is removed.
Press the edges of the stencil tightly against your nail to make sure your lines are even.
Apply a generous amount of polish over the stencil; use the brush to get the polish in all the nooks of the design. Work quickly to smooth out any pools of polish, or apply extra to areas that are too thin.
Wait. This is the tricky part, because it can largely depend on the type of polish that you’re using. You might want to snip a small area of extra Sticky Nails material to do a test with the specific polish you’re using before you set out to create your manicure. If you pull the stencil off too soon, the polish can bleed into the negative areas of your stencil. If you wait too long the polish might peel back with lots of half-dried strings that ruin the clean lines.
Peel the stencil back toward the area that you just polished.
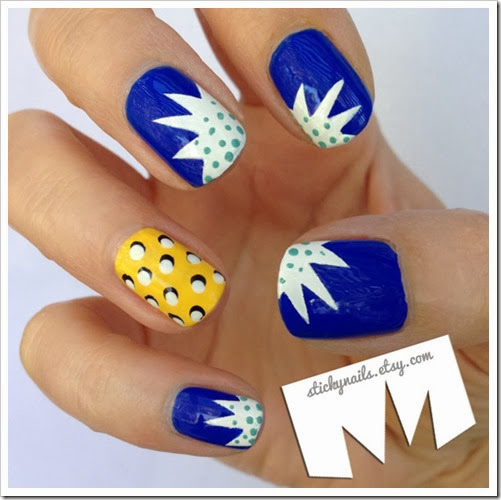
For my manicure, I used a set of dotting tools to gradually change the size of the blue dots on the white “explosions”. For the accent nail I did a bold yellow, with two-tone dots for extra depth.
Be sure to let the nail art dry completely before applying another layer of top coat. If you don’t wait long enough, the top coat will smear your nail art.
Colors used: Sinful Colors – Endless Blue, China Glaze – Happy Go Lucky, Sinful Colors – Snow Me White, Orly – Liquid Vinyl
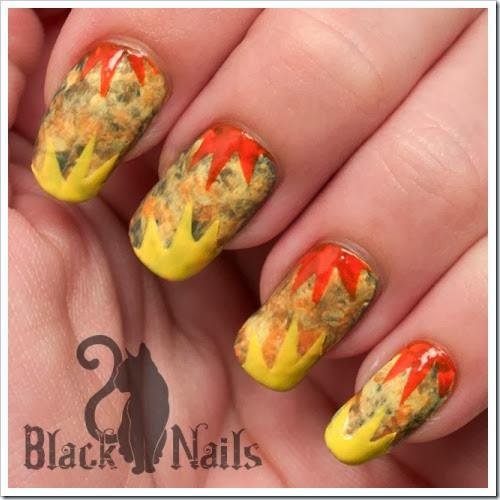
Comic books aren’t the only place for inspiration for using the Explosion stencils. Check out Arden from Black Cat Nails and her Autumn Leaves manicure.
I love her earthy interpretation of the starburst nail art trend! The background reminds me of crunching dried leaves under my feet.
Check out other nail art stencils from Sticky Nails


No comments:
Post a Comment